Scary Halloween Cookies Recipe for Spooky Parties
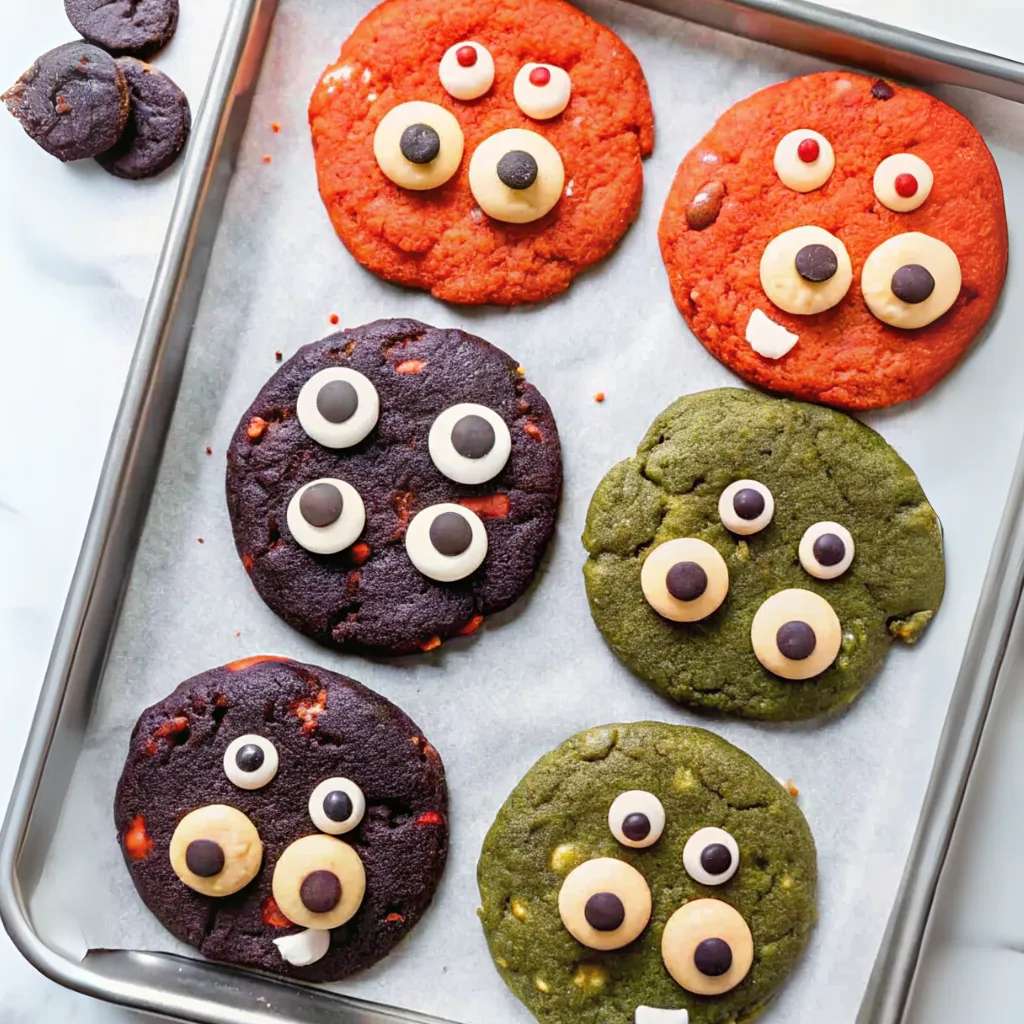
This Halloween cookies recipe is one of those treats that instantly makes you feel like a kid again. You know that thrill of walking into a Halloween party and spotting a plate of something colorful, silly, and just a little creepy? That’s exactly the vibe these cookies bring to the table.
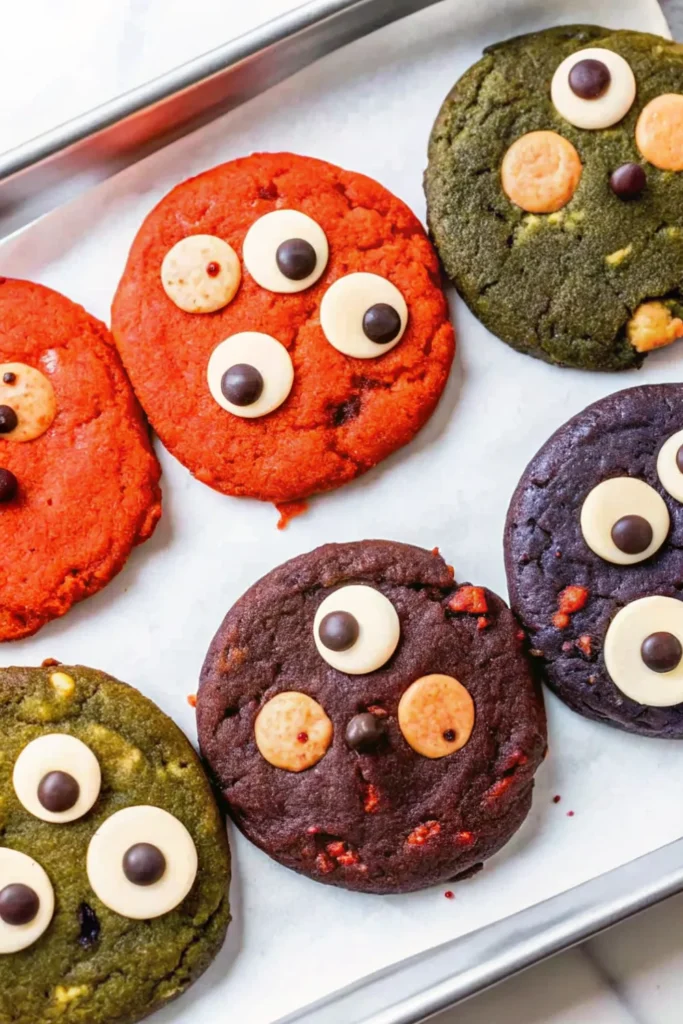
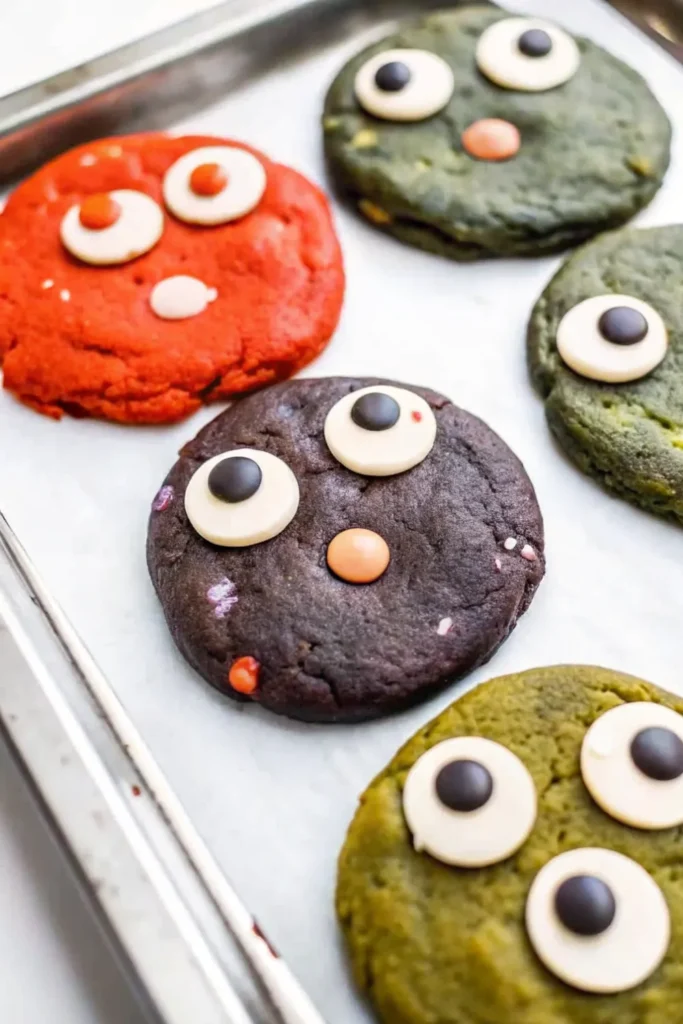
When I first baked them, I couldn’t stop grinning at how the candy eyeballs seemed to stare back at me. It was equal parts spooky and hilarious, which is honestly my favorite kind of Halloween fun. The best part is that the cookies aren’t just for show, they’re soft, chewy, and loaded with white chocolate chips so every bite has that cozy sweetness I crave this time of year.
I’ll be real with you, I love recipes that double as a party trick, and these fit the bill. They look like you spent hours in the kitchen, but really, they come together in less than 40 minutes start to finish. So if you’re hunting for something festive that’ll actually get people talking (and eating), you’re in the right place.
WHY YOU WILL LOVE THIS RECIPE
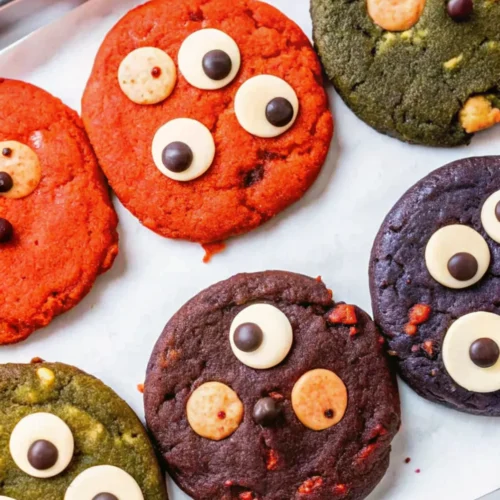
- Spooky but fun presentation – The candy eyeballs and bright colors make these cookies look like they belong at a haunted house, but they’re playful enough that kids and adults both get a kick out of them.
- Simple ingredients, big payoff – Nothing fancy here, just pantry staples like butter, sugar, flour, and chocolate chips. A couple of flavorings and sprinkles transform them into a Halloween showstopper.
- Soft and chewy texture – I tested these a few times to get the balance right, and they come out with crisp edges and gooey centers that stay soft even the next day.
- Quick and easy bake – From start to finish, you’re looking at about 35 minutes. That means you can whip them up on party day without stressing.
- Customizable flavors and colors – I love splitting the dough into different portions and coloring them. You can play around with flavors or just go wild with food coloring to match your party theme.
- Crowd-pleasing flavor combo – White chocolate chips give these cookies that creamy sweetness, which pairs surprisingly well with the little bursts of citrus from the orange zest.
INGREDIENTS FOR SCARY HALLOWEEN COOKIES
Cookie dough
- 120 g unsalted butter, room temperature (1/2 cup)
- 90 g brown sugar (1/2 cup)
- 50 g granulated sugar (1/4 cup)
- 1 large egg, room temperature
- 210 g all purpose flour (1 1/2 cups)
- 1/2 teaspoon baking soda
Mix-ins & flavors
- 150 g white chocolate chips, halal-certified (1 cup)
- 1/4 teaspoon alcohol-free ube extract
- 1 teaspoon matcha powder
- Zest of 1 orange
- A few drops halal-certified orange food coloring
Decorations
- Candy eyeballs, halal or vegan
- Sprinkles, halal or vegan
STEP BY STEP INSTRUCTIONS
- STEP 1) Preheat the oven to 180°C (350°F) and line a baking tray with baking paper.
- STEP 2) In a large bowl beat the butter, brown sugar, and granulated sugar with an electric mixer until smooth and fluffy.
- STEP 3) Add the egg and beat until just combined.
- STEP 4) Add the flour and baking soda, then mix until a soft cookie dough forms.
- STEP 5) Stir in the white chocolate chips until evenly distributed.
- STEP 6) Divide the dough into three equal portions.
- STEP 7) Mix the first portion with the ube extract, the second with matcha powder, and the third with orange zest and orange food coloring.
- STEP 8) Divide each colored dough into three balls, making 9 cookies total.
- STEP 9) Place the dough balls on the prepared baking tray and flatten them slightly with your hand.
- STEP 10) Bake for 10 to 14 minutes, or until the edges are set and the centers look soft.
- STEP 11) Remove from the oven and let the cookies cool on the tray for 5 to 10 minutes.
- STEP 12) Once cooled slightly, decorate with candy eyeballs and sprinkles before serving.
EXPERT COOKING TIPS FOR SCARY HALLOWEEN COOKIES
- Chill the dough if it feels sticky. Sometimes room temperature butter makes the dough a little too soft. A quick 10–15 minutes in the fridge helps the cookies hold their shape while baking.
- Don’t overbake. The edges should look set but the centers will still look soft when you take them out. They’ll firm up as they cool, and that’s how you get that perfect chewy bite.
- Add the eyeballs after baking. If you put them in the oven, they’ll melt or lose their detail. I always press them gently onto the warm cookies right after baking so they stick but still look sharp.
- Play with the colors. I went with ube, matcha, and orange for a mix of spooky vibes, but you can use any food-safe coloring that fits your party theme. Neon green or blood-red could be pretty fun too.
- Use a cookie scoop for even portions. This keeps the cookies the same size so they bake evenly and look neat on a platter.
RECIPE FAQ
What if I don’t have ube or matcha?
No problem. You can stick with orange zest and food coloring, or just use different food colors to get that spooky look. The flavors are flexible, so it’s more about the fun presentation.
How do I keep the cookies soft?
Store them in an airtight container at room temperature. Toss in a slice of bread and it’ll keep the cookies soft for a few days without changing the flavor.
Can I double this recipe for a big party?
Absolutely. Just double all the ingredients and bake in batches. The recipe scales up without any weird texture issues.
HALLOWEEN COOKIE DECORATING IDEAS
If you’re anything like me, the best part of Halloween baking is letting loose with the decorations. These cookies are already fun on their own, but you can really take them up a notch with a few extra touches.
- Monster faces. Use a bit of colored icing to pipe on mouths, fangs, or scars. Add more candy eyeballs for a goofy “monster mash” effect.
- Spider webs. Melt a little dark chocolate, pipe thin lines across the cookie, and drag a toothpick through them to make web patterns.
- Bloody drizzle. Mix red food coloring with a simple glaze (powdered sugar + milk) and drizzle it across the cookies for a creepy effect.
- Glow-in-the-dark vibe. Neon sprinkles or glow-colored icing will stand out under black lights if you’re throwing a full-on Halloween bash.
These are just starting points, and honestly, half the fun is seeing what wild ideas you (or your kids) come up with when the cookies are out of the oven.
HOW TO STORE AND FREEZE THESE COOKIES
One of the best things about these cookies is that they hold up really well after baking. That means you can make them ahead of time and not stress about last-minute prep.
- Room temperature storage. Keep the cookies in an airtight container on the counter for up to 4 days. They’ll stay soft and chewy if you tuck a slice of bread inside the container to maintain moisture.
- Refrigerating the dough. You can prepare the dough and refrigerate it for up to 2 days before baking. Just let it soften slightly at room temperature before scooping and shaping.
- Freezing baked cookies. Once cooled, place the cookies in a freezer-safe bag or container with parchment between the layers. They’ll keep for about 2 months. When you’re ready, thaw them at room temperature and they’ll taste just as fresh.
- Freezing the dough balls. Shape the dough into balls, freeze them on a tray until firm, then store them in a bag. Bake straight from frozen, adding 1–2 extra minutes to the bake time.
With these tricks, you can have a stash of scary treats ready whenever the Halloween spirit strikes.
And that’s a wrap on my scary halloween cookies recipe for spooky parties. These little guys are the kind of treat that always gets people talking, whether it’s kids laughing at the googly eyes or adults sneaking an extra cookie when they think no one’s looking. I love how easy they are to whip up, but more than that, I love how they bring a bit of fun and playfulness into the kitchen. So go ahead, bake up a batch, and let your cookies be the life of the party.
Scary Halloween Cookies Recipe for Spooky Parties
Ingredients
Cookie dough
- 120 g unsalted butter, room temperature (1/2 cup)
- 90 g brown sugar (1/2 cup)
- 50 g granulated sugar (1/4 cup)
- 1 large egg, room temperature
- 210 g all purpose flour (1 1/2 cups)
- 1/2 teaspoon baking soda
Mix-ins & flavors
- 150 g white chocolate chips, halal-certified (1 cup)
- 1/4 teaspoon alcohol-free ube extract
- 1 teaspoon matcha powder
- Zest of 1 orange
- A few drops halal-certified orange food coloring
Decorations
- Candy eyeballs, halal or vegan
- Sprinkles, halal or vegan
Instructions
- Preheat the oven to 180°C (350°F) and line a baking tray with baking paper.
- In a large bowl beat the butter, brown sugar, and granulated sugar with an electric mixer until smooth and fluffy.
- Add the egg and beat until just combined.
- Add the flour and baking soda, then mix until a soft cookie dough forms.
- Stir in the white chocolate chips until evenly distributed.
- Divide the dough into three equal portions.
- Mix the first portion with the ube extract, the second with matcha powder, and the third with orange zest and orange food coloring.
- Divide each colored dough into three balls, making 9 cookies total.
- Place the dough balls on the prepared baking tray and flatten them slightly with your hand.
- Bake for 10 to 14 minutes, or until the edges are set and the centers look soft.
- Remove from the oven and let the cookies cool on the tray for 5 to 10 minutes.
- Once cooled slightly, decorate with candy eyeballs and sprinkles before serving.


