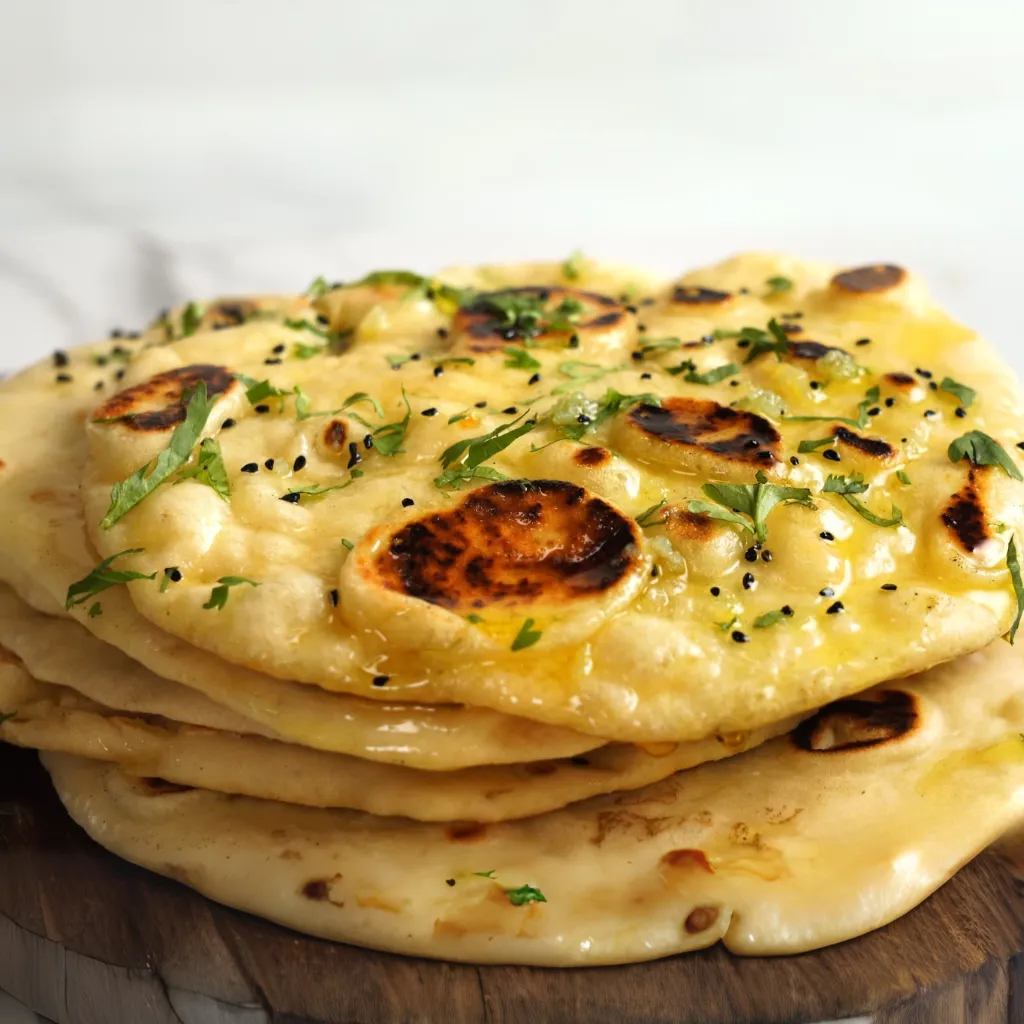
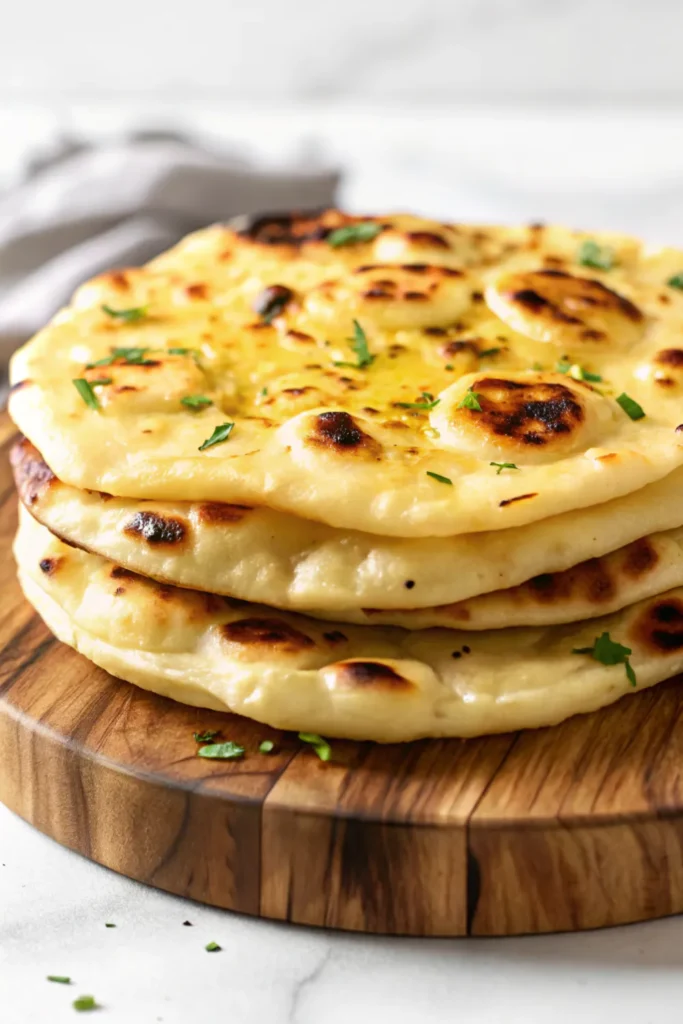
Garlic Naan Bread Recipe – Restaurant Style Made in a Skillet
This garlic naan bread recipe is one of those things I never thought I’d be able to pull off at home, but oh man, was I wrong. You know how restaurants bring out that basket of warm, bubbly naan, brushed with garlic butter, and it’s so good you almost forget about the curry? That’s exactly what I set out to recreate in my kitchen, and after plenty of trial runs, I finally cracked the code.
Here’s the funny part: I don’t own a tandoor oven, and I’m guessing you don’t either. Those fiery clay ovens get hotter than anything we’ve got at home, which is why naan from your favorite Indian spot has that signature char and puff. But with a simple cast iron skillet, I figured out how to get pretty darn close. And let me tell you, the first time I flipped that naan and saw those big, beautiful bubbles pop up, I may or may not have done a little victory dance right there by the stove.
This version is soft, chewy, and packed with garlicky goodness. The kind of bread you’ll want to tear apart with your hands and eat hot off the pan. Honestly, it’s dangerous how easy it is to make because once you try it, you’ll find yourself making batch after batch just to “test” it again.
WHY YOU WILL LOVE THIS RECIPE
- Better than takeout – You know that basket of naan you always look forward to at an Indian restaurant? This recipe gives you the same fluffy, bubbly, garlicky goodness without ever leaving home. I’ve tested it enough times to promise you won’t miss the takeout.
- Made in a skillet, no fancy gear – Forget about hunting down a tandoor oven. All you need is a cast iron skillet or a heavy pan you already own. The high heat works wonders and gives you those charred spots that make naan so addictive.
- Garlic butter heaven – Let’s be real, plain naan is amazing, but brushing it with garlic butter takes things to another level. The warm bread soaks it up, and every bite is a mix of chewy, soft bread with that savory kick of garlic.
- Beginner-friendly dough – If you’re nervous about yeast breads, don’t be. This dough comes together without kneading and only needs a couple of rises. It’s one of the easiest breads to try if you want to build confidence in the kitchen.
- Customizable to your taste – Want cheese-stuffed naan? Done. Prefer it plain? No problem. You can sprinkle with herbs, swap in your favorite melting cheese, or just keep it simple. Once you nail the base recipe, the options are wide open.
INGREDIENTS FOR GARLIC NAAN BREAD RECIPE
Dough ingredients
- 1 teaspoon instant or rapid rise yeast
- 1/2 cup warm water (about 40°C / 105°F)
- 1 tablespoon white sugar
- 2 tablespoons whole milk (low fat works too)
- 1 1/2 tablespoons whisked egg (about half a large egg, at room temperature)
- 1/2 teaspoon salt
- 1 3/4 cups bread flour (or all-purpose flour)
- 2 tablespoons ghee or unsalted butter, melted
Finishing ingredients
- 2 tablespoons ghee or unsalted butter, melted
- 1 small garlic clove, crushed (optional, for garlic butter)
- Nigella seeds (optional)
- Fresh coriander (cilantro), finely chopped (optional)
Cheese naan option
- 1/4 cup shredded cheese (cheddar, Monterey Jack, colby, or another good melting cheese, shredded yourself)
STEP BY STEP INSTRUCTIONS
- STEP 1). Mix the yeast, warm water, and sugar in a small bowl, cover, and let it sit for about 10 minutes until the surface turns foamy.
- STEP 2). In another bowl, whisk together the milk and egg, then set aside.
- STEP 3). Sift the flour and salt into a large bowl, make a well in the center, and pour in the yeast mixture, melted butter, and the milk-egg mixture. Stir with a spatula until the flour is mostly incorporated, then use your hands to bring it together into a ball of dough.
- STEP 4). Cover the bowl with plastic wrap and leave it in a warm spot for 1 to 1 1/2 hours, or until the dough doubles in size.
- STEP 5). Place the dough on a lightly floured surface, divide into 6 equal pieces, and shape each into a smooth ball by stretching the surface and tucking it underneath.
- STEP 6). Arrange the balls on a floured tray, cover with a lightweight towel, and let them rise again for about 15 minutes until they puff up by about half.
- STEP 7). Flatten one ball with your hand and roll it out into a round about 3 to 4 mm thick and roughly 16 cm wide.
- STEP 8). Heat a cast iron skillet over high heat, rubbing lightly with oil on a paper towel until it just begins to smoke. Place the rolled dough in the skillet and cook for 1 to 1 1/2 minutes until the bottom is golden with some char and the top has big bubbles, then flip and cook the other side for about 1 minute until browned.
- STEP 9). Remove the naan and immediately brush with melted butter or garlic butter, then sprinkle with nigella seeds and fresh coriander if you like. Repeat with the remaining dough, adjusting the skillet heat as needed.
- STEP 10). For cheese naan, roll a dough ball as usual, brush lightly with butter, place cheese in the center, gather the edges up like a pouch, pinch to seal, flip smooth side up, and roll out again to about 1/4 inch thick. Cook in the hot skillet for about 1 1/2 minutes on one side and 45 seconds on the other, until puffed and golden.

EXPERT COOKING TIPS
- Proofing in a warm spot. If your kitchen runs cold, the dough might take forever to rise. I’ve found that tucking the bowl into a slightly warmed (but turned off) oven or even near a sunny window speeds things up nicely.
- Use cast iron if you can. A well-seasoned cast iron skillet holds heat like nothing else and gives you those perfect charred spots. If you don’t have one, use the heaviest pan you own and crank up the heat.
- Don’t roll too thin. If you roll the dough too thin, you’ll miss out on those big, beautiful bubbles that make naan so fun to tear into. Keep it around 3 to 4 mm thick for the best texture.
- Brush right away. As soon as the naan comes off the skillet, hit it with butter or garlic butter. The bread is hot enough to soak it in, and that’s when the flavor really sticks.
- Cheese needs a gentle touch. When stuffing cheese naan, don’t overload the filling. Too much cheese makes it tricky to roll flat without tearing, and a quarter cup is the sweet spot.
RECIPE FAQ
Do I have to use bread flour?
No, all-purpose flour works just fine. Bread flour gives a slightly fluffier texture, but honestly, the difference isn’t huge. Don’t stress if all you have is all-purpose.
What’s the best way to reheat naan?
I like to reheat it in a hot skillet for about 30 seconds per side. It brings back the softness and a little bit of that fresh-off-the-pan vibe. The microwave works in a pinch, but the texture isn’t quite the same.
Can I freeze garlic naan?
Yes! Cook them completely, let them cool, then stack with parchment between each piece and freeze in a sealed bag. Reheat straight from frozen in a hot skillet.
MAKE-AHEAD AND STORAGE TIPS
One of the best discoveries I made while testing this recipe is that naan actually tastes even better the next day. The dough develops more flavor as it rests, so making it ahead can be a win. Here’s how I handle it:
- Overnight dough. After the first rise, cover the bowl with plastic wrap and stick it in the fridge overnight. Don’t punch it down. The next day, bring it back to room temperature before shaping and cooking.
- Storing cooked naan. Wrap the cooled bread in foil or pop it into an airtight container. It stays soft at room temperature for about two days, or up to a week in the fridge.
- Freezing. Let the naan cool, then stack with parchment paper between pieces and freeze in a sealed bag. They reheat beautifully straight from frozen in a hot skillet.
SERVING IDEAS TO TRY
I’ll be honest, half the time I end up eating this garlic naan straight out of the pan with nothing else. But if you want to round out a meal, here are some of my favorite ways to serve it:
- With curry. The classic choice. Butter chicken, tikka masala, or even a simple lentil dal all taste better when you’ve got naan to scoop them up.
- As a wrap. Use the naan like flatbread and stuff it with grilled chicken, veggies, or even leftover kebabs. It makes a killer handheld lunch.
- Cheese naan as a snack. When I make the cheese version, I sometimes just slice it into wedges and serve it like cheesy bread. Perfect for game night or with a glass of iced tea.
- With dips. Hummus, tzatziki, or even a simple yogurt-cucumber dip go perfectly with warm naan.
There you have it, my full take on making garlic naan bread at home. It’s one of those recipes that feels fancy but is actually super doable once you try it. I still remember the first time I nailed those big bubbles in the skillet, and I’ve been hooked ever since. If you’ve only ever had naan at restaurants, I promise this version will change the way you think about homemade bread. Give it a shot, keep it simple the first time, and before you know it you’ll be tossing together batches like a pro. And trust me, once that garlic butter hits the hot bread, you’ll see why I keep making it again and again.

Garlic Naan Bread Recipe – Restaurant Style Made in a Skillet
Ingredients
Dough ingredients
- 1 teaspoon instant or rapid rise yeast
- 1/2 cup warm water (about 40°C / 105°F)
- 1 tablespoon white sugar
- 2 tablespoons whole milk (low fat works too)
- 1 1/2 tablespoons whisked egg (about half a large egg, at room temperature)
- 1/2 teaspoon salt
- 1 3/4 cups bread flour (or all-purpose flour)
- 2 tablespoons ghee or unsalted butter, melted
- 2 tablespoons ghee or unsalted butter, melted
- 1 small garlic clove, crushed (optional, for garlic butter)
- Nigella seeds (optional)
- Fresh coriander (cilantro), finely chopped (optional)
Cheese naan option
- 1/4 cup shredded cheese (cheddar, Monterey Jack, colby, or another good melting cheese, shredded yourself)
Instructions
- Mix the yeast, warm water, and sugar in a small bowl, cover, and let it sit for about 10 minutes until the surface turns foamy.
- In another bowl, whisk together the milk and egg, then set aside.
- Sift the flour and salt into a large bowl, make a well in the center, and pour in the yeast mixture, melted butter, and the milk-egg mixture. Stir with a spatula until the flour is mostly incorporated, then use your hands to bring it together into a ball of dough.
- Cover the bowl with plastic wrap and leave it in a warm spot for 1 to 1 1/2 hours, or until the dough doubles in size.STEP 5). Place the dough on a lightly floured surface, divide into 6 equal pieces, and shape each into a smooth ball by stretching
- Place the dough on a lightly floured surface, divide into 6 equal pieces, and shape each into a smooth ball by stretching the surface and tucking it underneath.
- Arrange the balls on a floured tray, cover with a lightweight towel, and let them rise again for about 15 minutes until they puff up by about half.
- Flatten one ball with your hand and roll it out into a round about 3 to 4 mm thick and roughly 16 cm wide.
- Heat a cast iron skillet over high heat, rubbing lightly with oil on a paper towel until it just begins to smoke. Place the rolled dough in the skillet and cook for 1 to 1 1/2 minutes until the bottom is golden with some char and the top has big bubbles, then flip and cook the other side for about 1 minute until browned.
- Remove the naan and immediately brush with melted butter or garlic butter, then sprinkle with nigella seeds and fresh coriander if you like. Repeat with the remaining dough, adjusting the skillet heat as needed.
- For cheese naan, roll a dough ball as usual, brush lightly with butter, place cheese in the center, gather the edges up like a pouch, pinch to seal, flip smooth side up, and roll out again to about 1/4 inch thick. Cook in the hot skillet for about 1 1/2 minutes on one side and 45 seconds on the other, until puffed and golden.


