Healthy No Bake Brownies: Vegan and Gluten-Free
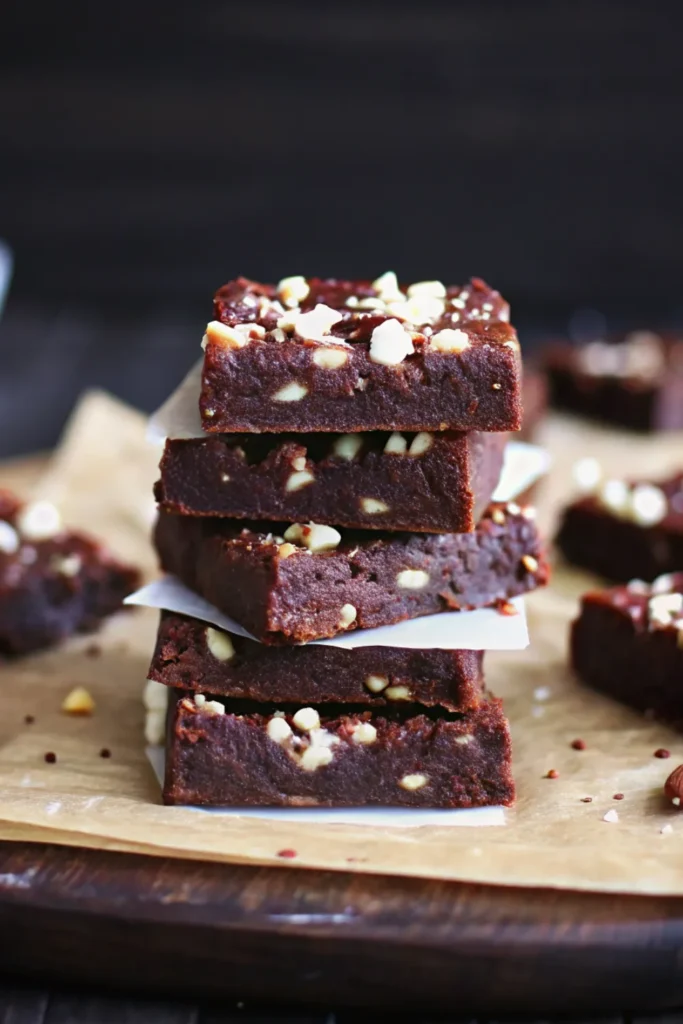
This Healthy No Bake Brownies recipe is one of my favorite guilt-free chocolate treats that I have ever made! You know how at the start of the year everyone gets all hyped about eating healthier? Yes, I was right there too. I promised myself I would find more ways to satisfy my sweet tooth without diving face first into sugar-loaded desserts. And let me tell you, these brownies totally saved me.
They are rich, chewy, super chocolatey, and seriously, so easy to make! I am not even kidding, the whole thing comes together in just minutes. No oven, no fancy equipment, no fuss. You pretty much just mix, press, and chill. Oh, and here is the best part. They are packed with natural goodness like nuts, dates, and cacao. I did not have to give up flavor to keep them on the healthier side.
I actually stumbled on this recipe while playing around in my kitchen, trying to beat those chocolate cravings in a smarter way. It is funny, I was not sure they would taste that good at first. I mean, no-bake, sugar-free, gluten-free? Sounds a little suspicious, right? But wow, they turned out so chewy and fudgy I literally had to stop myself from eating the whole batch at once.
If you are looking for something sweet but you do not want to wreck your healthy streak, stick with me. These brownies might just become your new best friend.
WHY YOU WILL LOVE THIS RECIPE
- Quick to make – You can pull these together in no time, seriously. Perfect when you need that chocolate fix fast.
- No oven needed – Yep, no baking required. I love when I can keep things simple and still get amazing results.
- Super chewy texture – Oh my goodness, the chewiness is on point. Every bite is like a little fudgy dream.
- Naturally sweetened – No added sugar here. The dates do all the sweet talking.
- Vegan and gluten-free – These brownies are friendly for all kinds of eaters. I always feel good sharing them around.
- Chocolate loaded – They hit hard on that chocolate flavor without feeling heavy or overly sweet.
INGREDIENTS
Nuts and seeds
- 1 cup mixed nuts (I used walnuts and almonds, but hey, use whatever you have)
Chocolate goodness
- 6 tablespoons raw cacao powder (Cocoa powder works too. I will not judge)
- 2 tablespoons raw cacao powder for ganache (Yep, more chocolate. Yes please)
Sweetness
- 1 cup packed soft pitted dates (Medjool dates rock, but any soft kind is cool. If yours are dry, soak them in hot water for 10 minutes first)
- 1 teaspoon agave syrup (or your favorite liquid sweetener)
Extra yums
- 2 tablespoons coconut oil (I go for the odorless, flavorless kind. Coconut-flavored chocolate? No thanks)
- A pinch of salt (Salty chocolate is life)
- Desiccated coconut (Optional, but it is fun if you are feeling a little fancy)
- 2 tablespoons roughly chopped almonds (Crunch, baby, crunch)
Flavor booster
- 1/4 teaspoon alcohol-free vanilla flavoring (We are keeping it clean here. No booze in this kitchen)
STEP BY STEP INSTRUCTIONS
- STEP 1). Grab your food processor and toss in the nuts, cacao powder, chia seeds, salt, and hey, if you are feeling wild, throw in some desiccated coconut too. Blitz them until you get a dark chocolatey sand. It looks weird, but it smells amazing.
- STEP 2). Now toss in those sticky sweet dates. Pulse, pulse, pulse until it turns into a sticky, mashy dough that sticks together like a big happy ball. If it is not coming together, pulse some more. You have got this.
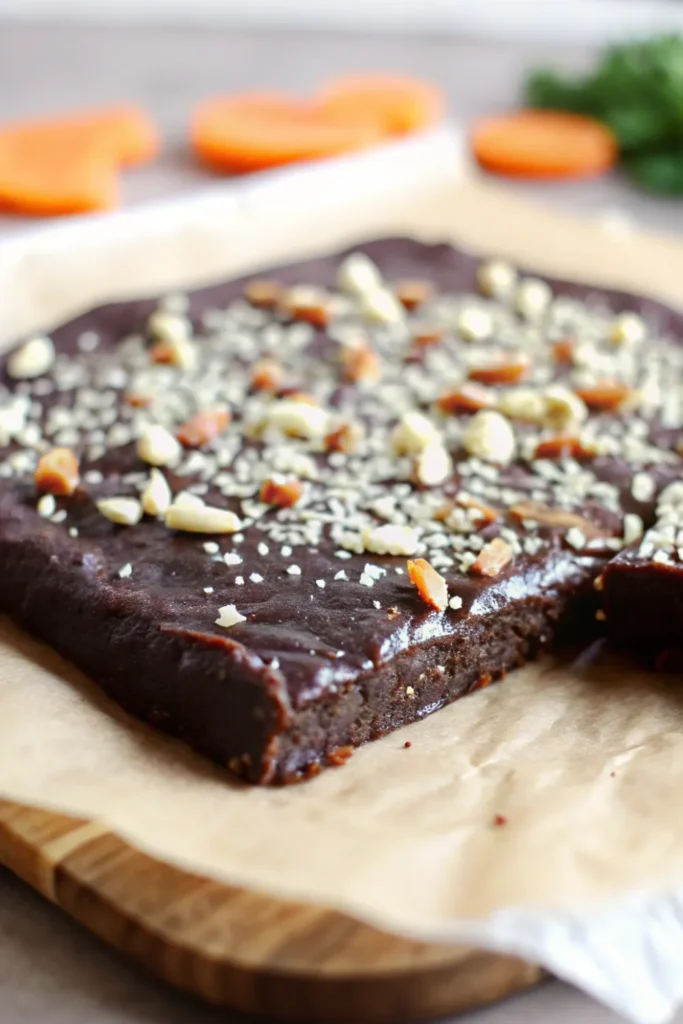
- STEP 3). Dump that dough onto a parchment paper-lined surface. I like to flatten it out into a nice square or rectangle with my hands. No need to bust out the ruler here. Press some chopped almonds on top for a satisfying crunch.
- STEP 4). Time to whip up the ganache. Melt the coconut oil in a small bowl. Stir in the agave syrup, alcohol-free vanilla flavoring, and cacao powder. Mix it like you mean it until it is smooth. If it is too bitter, just sneak in a little more sweetener. No shame.
- STEP 5). Pop that ganache in the fridge for about 5 to 10 minutes. We want it to firm up a bit so it is easier to spread. Trust me, this saves the mess later.
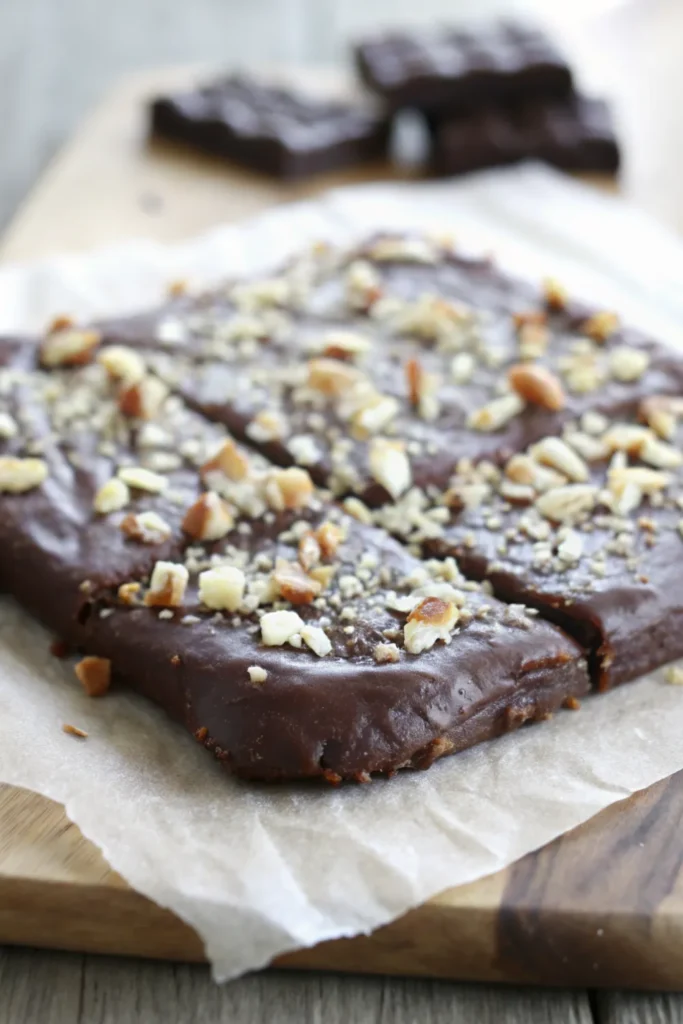
- STEP 6). Slap that ganache on top of the brownie base and spread it out. Be generous. This is where the magic happens. Top with more chopped almonds if you are feeling it. I always do.
- STEP 7). Let the brownies chill in the fridge until the ganache is set. It is hard, I know. Waiting is the worst. But hey, you can totally sneak a tiny corner if you can not wait.
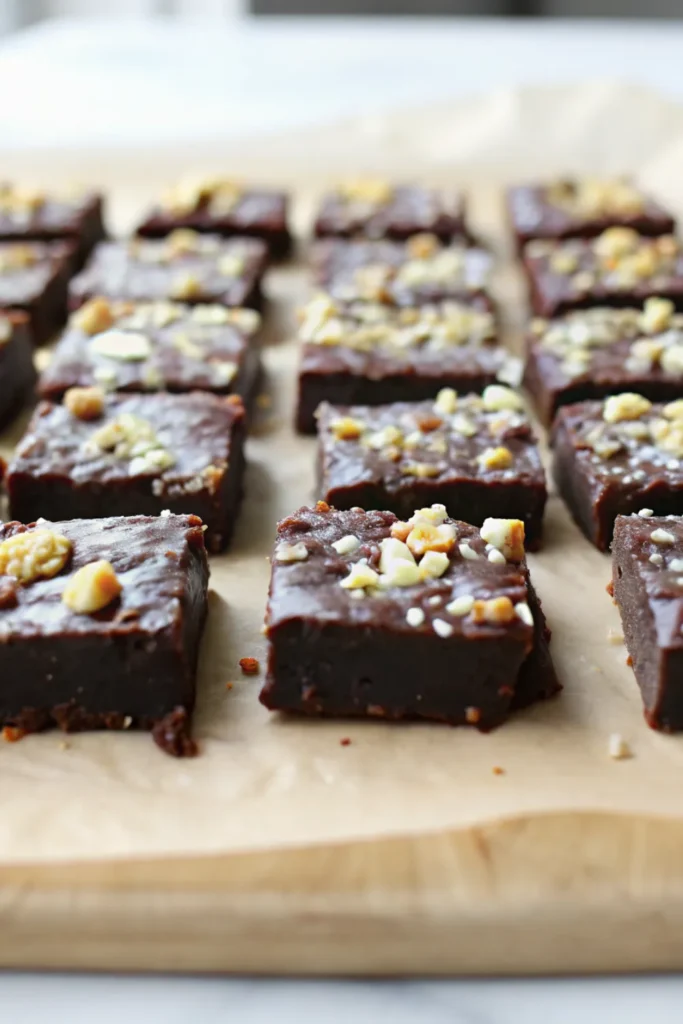
- STEP 8). Once they are firm, cut them into small squares. Seriously, they are rich, so do not go monster-sized unless you are ready for that chocolate punch.
- STEP 9). Store the brownies in an airtight container in the fridge. They keep like champs for days because they have got no dairy. That is the beauty of it.
EXPERT COOKING TIPS
- Soak those dates if they are dry. Seriously, do not skip this step. Dry dates will mess up the dough and make it crumbly. A quick hot water soak for 10 minutes brings them back to life.
- Chill your ganache before spreading. I learned this the hard way. If you try to spread it while it is still runny, it will slide all over the place and make a big old mess.
- Use your hands to press the dough. A spoon will not cut it here. You need to get in there and really press it down firmly so the brownies hold their shape.
- Taste the ganache before using. Sometimes you might want it a little sweeter, and that is okay. Just stir in a bit more agave syrup if it feels too dark for your vibe.
- Go wild with toppings. I love using chopped almonds, but honestly, you can sprinkle on coconut flakes, cacao nibs, or even more nuts if you are feeling creative.
RECIPE FAQ
What if I don’t have chia seeds?
No worries at all. The chia seeds are optional. I like them because they add a little extra nutrition, but they will not change the recipe if you leave them out.
Can I freeze these brownies?
Absolutely. I have done it and they hold up great. Just cut them into squares first, pop them in an airtight container, and you can freeze them for up to three months. Let them sit out a bit before eating so they soften up.
Can I use other nuts?
Totally. You can mix and match with whatever nuts you have hanging around. I have tried pecans, cashews, and even hazelnuts. They all work and give a slightly different vibe.
VEGAN & ALLERGY-FRIENDLY SWAPS
- Nut-free option: Swap the mixed nuts and almond toppings with sunflower seeds or pumpkin seeds. They still give you that great crunch without the nut allergy worry.
- Sweetener swap: You can use maple syrup or date syrup instead of agave syrup. I have tried both and they work just as well.
- Coconut-free option: If you are not into coconut, you can use avocado oil or any neutral plant-based oil in place of coconut oil. Just make sure it is flavorless.
- Vanilla swap: Use vanilla powder or scrape out the seeds from a fresh vanilla bean if you can not find alcohol-free vanilla flavoring. Both give you that sweet, lovely vanilla vibe.
- Chia seed swap: You can leave out the chia seeds or replace them with ground flaxseeds if you still want a little nutritional boost.
NUTRITION BREAKDOWN
- Calories: Approximately 150 per piece
- Protein: Around 3 grams per piece
- Fat: About 9 grams per piece
- Carbohydrates: Roughly 17 grams per piece
- Sugar: Around 12 grams per piece (naturally from dates)
- Salt: Less than 0.1 grams per piece
Note: These values are approximate and can vary depending on the specific ingredients and portion sizes you use. I like to keep it real, so always double check if you need exact numbers for your diet.
These Healthy No Bake Brownies have totally earned a top spot in my kitchen. They are quick, rich, and loaded with chocolate goodness, all without turning on the oven. I love how they let me satisfy my sweet cravings in a smarter, feel-good way.

