Chocolate Chip Cookies Brown Butter Perfection in Every Bite
This chocolate chip cookies brown butter recipe is the kind of thing you make when you want to impress someone. Or just seriously treat yourself.
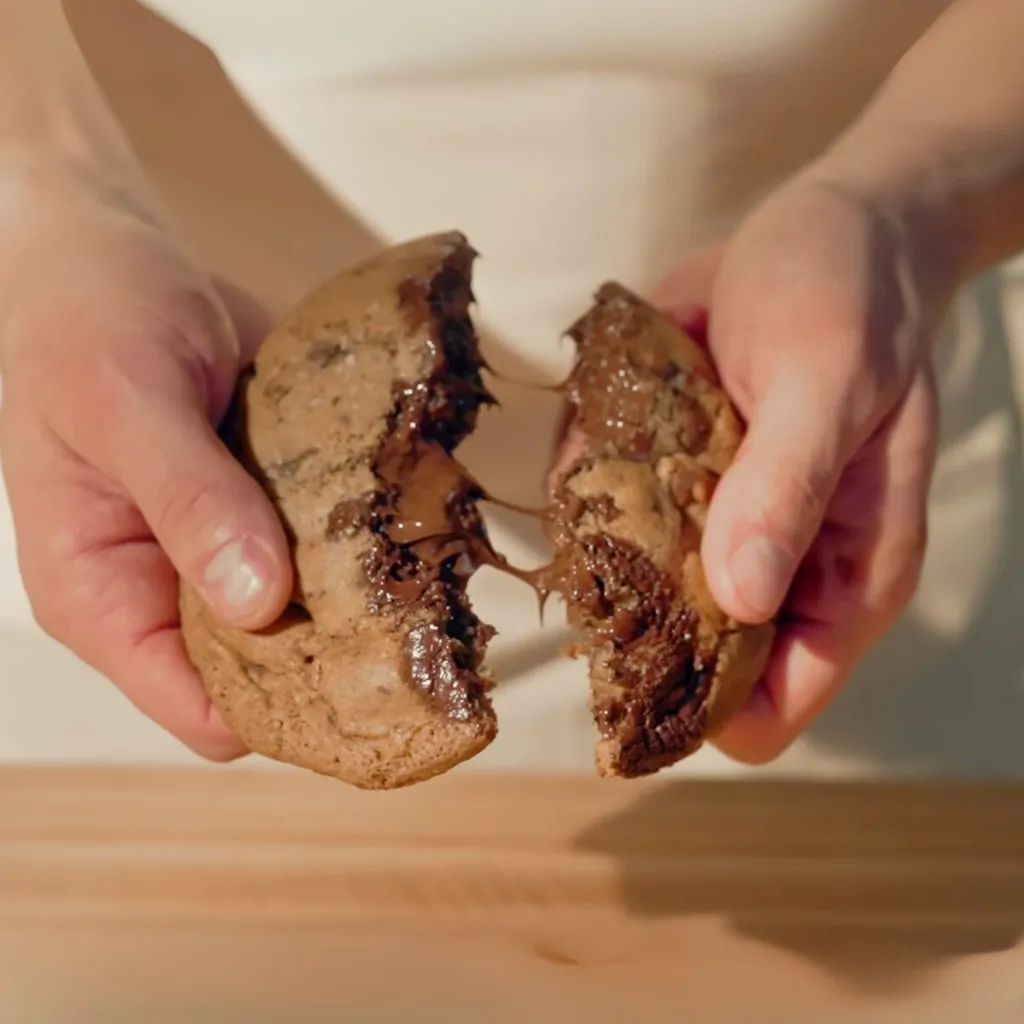
Ever had a cookie that was crisp on the edges, chewy in the middle, and still warm enough to melt the chocolate onto your fingertips? Yeah. That’s this cookie. And the secret? Brown butter. I’m talking nutty, golden, aromatic butter that completely transforms the flavor. Once you’ve had it this way, regular cookies honestly feel kinda flat.
I first tested this recipe on a whim one weekend, chasing that bakery-style cookie magic. Big, crinkled edges, gooey centers, and that extra chew you only get from letting the dough rest. I didn’t expect them to blow me away like they did. The first batch barely made it off the tray before we’d devoured half of them straight off the rack.
Now? I make a double batch and freeze the dough balls so I can bake just one or two whenever I want a fresh cookie moment. Which, let’s be real, is often. If you’ve never browned butter before, don’t worry, I’ll walk you through it. And if you’ve never let cookie dough rest for a whole day, prepare to be amazed.
Alright, let’s dive into why this recipe works so well. I’ve got a few tips you’ll want to keep in your back pocket before you get baking.
WHY YOU WILL LOVE THIS RECIPE
- Brown butter adds depth like no other – It’s not just melted butter, it’s caramelized, nutty goodness that makes every bite taste like it came straight from a fancy bakery. You’ll smell the difference before you even take that first bite.
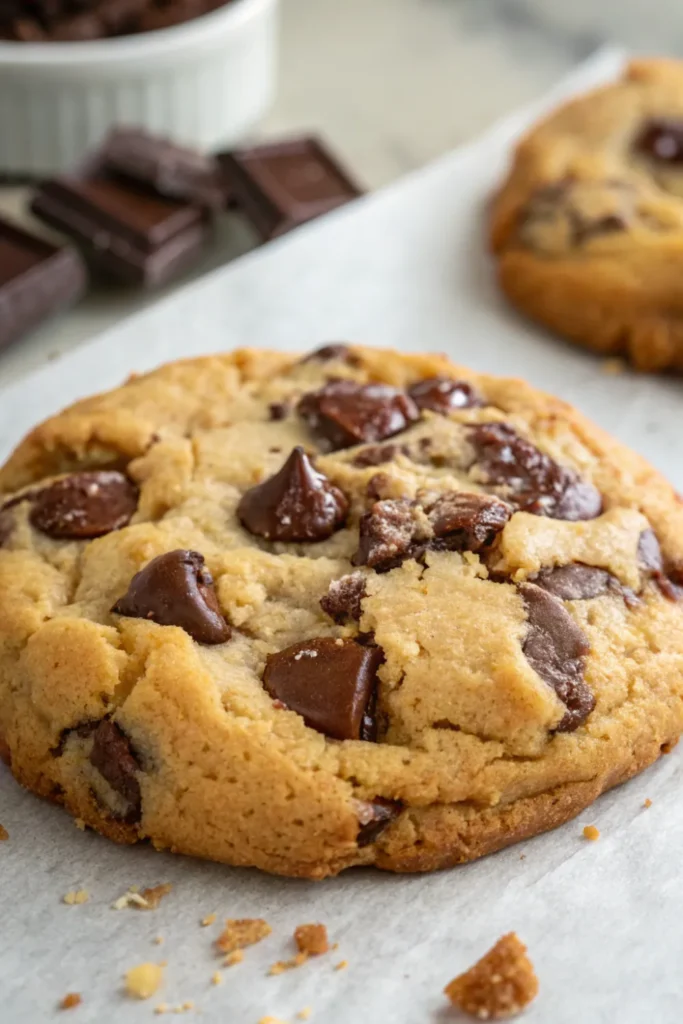
- Chewy center, crisp edge perfection – These cookies strike the perfect balance. The outside has that satisfying snap while the center stays soft and gooey. That texture combo is what cookie dreams are made of.
- Big, bold bakery-style cookies – These aren’t your average little drop cookies. They’re thick, wide, and made to impress. You’ll only need one… but you’ll absolutely want two.
- Chilling the dough makes a huge difference – I know waiting 24 hours is annoying, but it’s 100% worth it. The rest time deepens the flavor and gives the cookies that chewy interior and wrinkled top.
- The chocolate mix is spot on – Using both dark chocolate chunks and semi-sweet chips gives you those pools of melted chocolate and sweet little pockets in every bite. It’s layered, and it hits different.
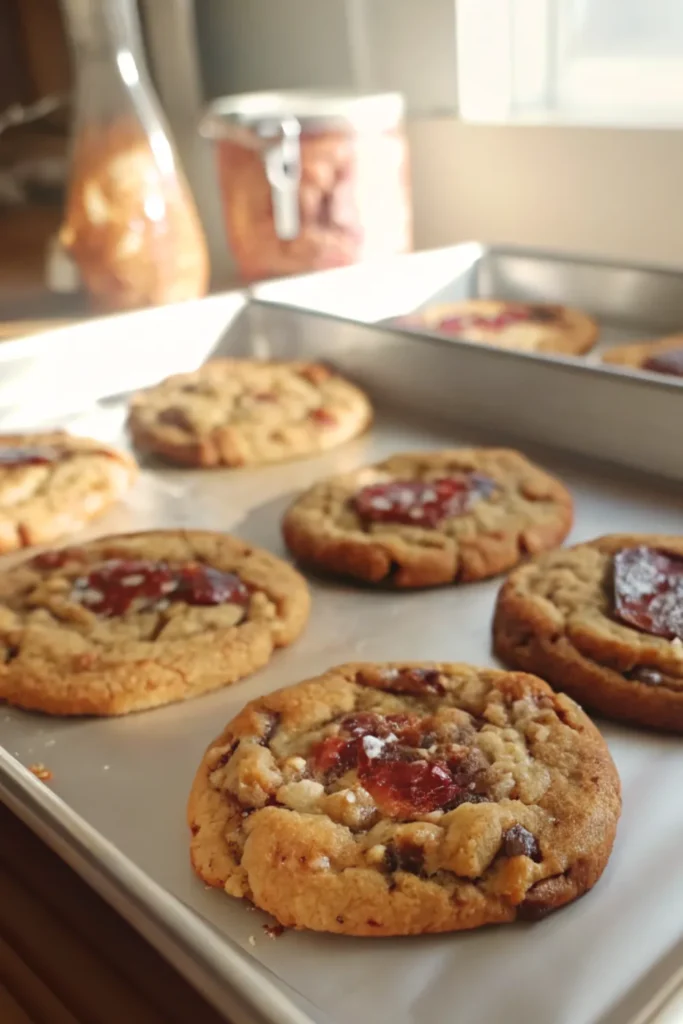
- They freeze beautifully – Make the dough ahead, freeze it in balls, and bake off a few whenever the craving hits. Nothing beats fresh-baked cookies on demand.
INGREDIENTS
Dry ingredients
- 1 cup + 2 tablespoons (150 g) all-purpose flour
- 1 cup (130 g) bread flour
- ½ teaspoon (3 g) baking soda
- 1 teaspoon (5 g) kosher salt
Wet ingredients
- 1 stick (115 g) salted butter
- 1 cup (220 g) dark brown sugar
- ½ cup (100 g) white sugar
- 2 large eggs + 1 egg yolk
- 1 tablespoon (13 g) alcohol-free vanilla extract or vanilla bean paste
Mix-ins
- ⅔ cup (110 g) dark chocolate, roughly chopped
- ⅔ cup (110 g) semi-sweet chocolate chips
For serving
- Flaky sea salt
- Halal vanilla ice cream (optional)
STEP BY STEP INSTRUCTIONS
- STEP 1). Melt the butter in a small saucepan over medium heat, stirring often, until it foams and the milk solids turn golden brown and smell nutty, then transfer to a heatproof bowl and set it over a folded towel in the freezer to cool until thickened but not solid.
- STEP 2). While the butter cools, whisk together the all-purpose flour, bread flour, baking soda, and kosher salt in a medium mixing bowl.
- STEP 3). Once the butter is ready, beat it in a stand mixer with the brown sugar, white sugar, eggs, and vanilla for about two minutes until light and creamy.
- STEP 4). Add the dry ingredients and mix on low speed until the flour is about 75% combined, then toss in the chocolate chunks and chips and mix just until everything comes together.
- STEP 5). Press plastic wrap directly onto the dough, cover the bowl, and refrigerate for at least 24 hours and up to 3 days.
- STEP 6). When you’re ready to bake, let the dough sit at room temperature for about an hour, then scoop it into 140-gram balls and press the tops lightly into a bowl of flaky sea salt.
- STEP 7). Chill the salted dough balls while you preheat the oven to 350°F, then line two sheet trays with parchment and place three cookies on each tray, spaced a few inches apart.
- STEP 8). Bake for 8 minutes, rotate and switch the trays, then bake another 6 minutes before banging each tray on the counter a few times to help the cookies spread.
- STEP 9). Bake 2 to 3 more minutes until the edges are golden and the tops are just set, then bang the trays again to create ripples.
- STEP 10). Let the cookies cool on the trays for 5 minutes, then move them to a wire rack and repeat until all the dough is baked.
EXPERT COOKING TIPS
- Watch the butter like a hawk. Browning butter can go from golden and nutty to burnt in seconds. As soon as you see those brown specks and smell that toasty aroma, take it off the heat.
- Don’t skip the chilling. I know it’s tempting to bake them right away, but letting the dough rest for at least 24 hours develops deeper flavor and better texture. Trust me, it’s worth the wait.
- Weigh your dough balls. I use a scale to portion out exactly 140 grams per cookie. It keeps the size consistent and gives you that thick, bakery-style look every time.
- Bang those pans. Smacking the tray on the counter helps the cookies spread and gives them those beautiful wrinkly edges. Do it once mid-bake and again right after pulling them out.
- Salt on top makes them pop. That flaky sea salt isn’t just for show. It balances the sweetness and brings out the richness of the brown butter and chocolate.
RECIPE FAQ
Do I have to use both types of flour?
Using both all-purpose and bread flour gives these cookies their thick, chewy center and that crispy edge. If you only have all-purpose, it'll still work, but the texture won’t be quite the same.
Can I make these smaller?
Sure! Just reduce the dough ball size and cut the bake time. Start checking around 8–9 minutes total and keep a close eye — smaller cookies bake much faster.
Do these freeze well?
Yes, beautifully. I freeze the dough balls on a tray, then store them in a zip-top bag. Just pop them straight into a preheated oven and add an extra minute or two to the bake time.
HOW TO GET THE PERFECT TEXTURE
Getting that perfect balance of crispy edges and a soft, chewy center isn’t just about luck. It’s about paying attention to the little things — and honestly, this recipe is built for texture lovers.
First, the brown butter gives the cookies richness and chew that you just don’t get from regular melted butter. Then there’s the flour combo — bread flour has more protein than all-purpose, which means more structure and that satisfying bite in the center.
The pan banging trick (yes, it feels weird at first) is what creates those signature ripples and crinkles. Without it, the cookies stay more dome-shaped and don’t spread as much. And lastly, don’t overbake. If they look slightly underdone in the center when you pull them out, you did it right. They’ll finish setting on the tray.
If you’re aiming for bakery-style texture, this is the game plan.
STORING AND SERVING IDEAS
Let’s talk about what to do once these beauties come out of the oven — assuming you haven’t already eaten half of them warm (no judgment, I’ve been there).
To store baked cookies, just let them cool completely, then stash them in an airtight container at room temperature. They’ll stay fresh for about 3 to 4 days, though honestly, they’ve never lasted that long in my kitchen. You can warm them up for 10 seconds in the microwave if you want to bring back that gooey center.
To freeze the dough, scoop it into balls first, freeze them on a sheet tray, and then transfer to a zip-top bag. When the craving hits, pop a few frozen dough balls onto a tray and bake straight from the freezer — just add a couple extra minutes to the bake time.
Serving tip? If you really want to go over the top, serve them warm with a scoop of vanilla ice cream on top. The heat from the cookie melts the ice cream just enough to turn it into this perfect little dessert moment. It’s a total showstopper — even if you’re just making them for yourself on a Tuesday night.
And that’s pretty much everything you need to know about these brown butter beauties. Once you make them, you’ll understand why I can’t stop coming back to this recipe. It’s warm, rich, chocolatey, and just a little extra — in the best way possible.
Whether you bake the whole batch or save some dough in the freezer for cookie emergencies, I hope they bring as much joy to your kitchen as they have to mine. Let me know how yours turn out — I’m always here cheering you on.

Chocolate Chip Cookies Brown Butter Perfection in Every Bite
Ingredients
Dry ingredients
- 1 cup + 2 tablespoons (150 g) all-purpose flour
- 1 cup (130 g) bread flour
- ½ teaspoon (3 g) baking soda
- 1 teaspoon (5 g) kosher salt
Wet ingredients
- 1 stick (115 g) salted butter
- 1 cup (220 g) dark brown sugar
- ½ cup (100 g) white sugar
- 2 large eggs + 1 egg yolk
- 1 tablespoon (13 g) alcohol-free vanilla extract or vanilla bean paste
Mix-ins
- ⅔ cup (110 g) dark chocolate, roughly chopped
- ⅔ cup (110 g) semi-sweet chocolate chips
For serving
- Flaky sea salt
- Halal vanilla ice cream (optional)
Instructions
- Melt the butter in a small saucepan over medium heat, stirring often, until it foams and the milk solids turn golden brown and smell nutty, then transfer to a heatproof bowl and set it over a folded towel in the freezer to cool until thickened but not solid.
- While the butter cools, whisk together the all-purpose flour, bread flour, baking soda, and kosher salt in a medium mixing bowl.
- Once the butter is ready, beat it in a stand mixer with the brown sugar, white sugar, eggs, and vanilla for about two minutes until light and creamy.
- Add the dry ingredients and mix on low speed until the flour is about 75% combined, then toss in the chocolate chunks and chips and mix just until everything comes together.
- Press plastic wrap directly onto the dough, cover the bowl, and refrigerate for at least 24 hours and up to 3 days.
- When you're ready to bake, let the dough sit at room temperature for about an hour, then scoop it into 140-gram balls and press the tops lightly into a bowl of flaky sea salt.
- Chill the salted dough balls while you preheat the oven to 350°F, then line two sheet trays with parchment and place three cookies on each tray, spaced a few inches apart.
- Bake for 8 minutes, rotate and switch the trays, then bake another 6 minutes before banging each tray on the counter a few times to help the cookies spread.
- Bake 2 to 3 more minutes until the edges are golden and the tops are just set, then bang the trays again to create ripples.
- Let the cookies cool on the trays for 5 minutes, then move them to a wire rack and repeat until all the dough is baked.


