No Knead Bread Recipe with a Crispy Artisan Crust
This no knead bread recipe is the kind of recipe that makes you stop and wonder, “Why haven’t I been baking bread like this my whole life?” I remember the first time I pulled this loaf out of the oven, and the crust crackled as it cooled on the counter. The smell alone was enough to make the neighbors jealous, but the real magic was how simple it had been to get there. No kneading, no fussing, no babysitting the dough like it’s a fragile little project. Just mix, rise, and bake.
I’ve baked plenty of breads that required endless folding or tricky timing, and while they’re worth it sometimes, most days I just don’t have that kind of energy. This bread feels like a little gift, because it gives you that artisan bakery vibe without stealing half your weekend. It’s rustic, chewy, and has those big beautiful holes inside that make you feel like a professional baker even if you’re really just hanging out in your pajamas waiting for the oven timer to ding.
And the best part? You only need four ingredients you probably already have sitting in your kitchen right now. I love recipes like this, where the process is straightforward and forgiving, but the payoff is huge. Stick with me, and I’ll walk you through exactly how I make it in my own kitchen so you can have that same “wow” moment when you slice into your loaf.

WHY YOU WILL LOVE THIS RECIPE
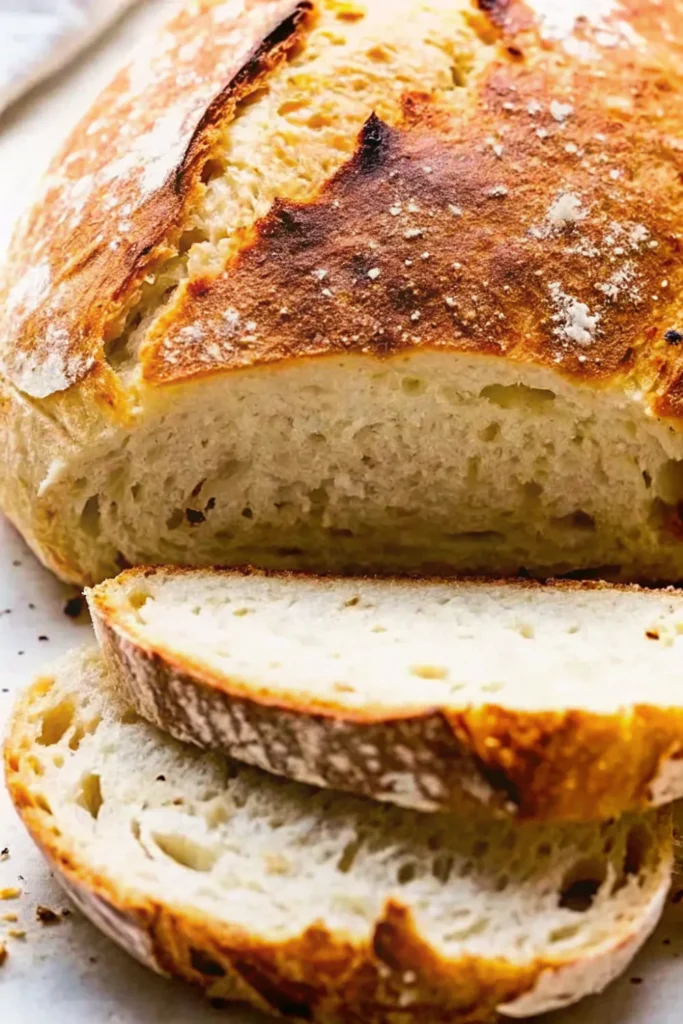
- It looks like bakery bread but takes no skill. The golden crust, the chewy inside, and those big air pockets make this loaf look like it came from a fancy artisan bakery, but trust me, anyone can pull it off.
- Just four ingredients. Flour, water, yeast, and salt—that’s it. No complicated shopping lists, no obscure pantry items. If you’ve got a kitchen, you’ve probably got what you need.
- No kneading, no stress. I’ve baked plenty of breads that demand endless folding and stretching, and honestly, they can feel like a workout. This recipe skips all that—mix, rise, bake, done.
- Forgiving and flexible. Got distracted and let the dough sit a little too long? No big deal. Need to pop it in the fridge overnight? Works perfectly. This recipe gives you some wiggle room.
- Perfect crust every time. The Dutch oven trick makes it foolproof. You get that signature crunchy shell without needing special equipment or a pro baker’s oven.
- It actually stays fresh. Homemade bread usually goes stale fast, but this loaf keeps surprisingly well for a couple of days, and it toasts up beautifully if you’ve got leftovers.
INGREDIENTS FOR NO KNEAD BREAD RECIPE
Dough
- 3 cups (450 g) bread flour or all-purpose flour
- 2 teaspoons instant or rapid rise yeast
- 2 teaspoons kosher salt (not table salt)
- 1 1/2 cups (375 ml) very warm water, about 55°C/130°F
For shaping
- 1 1/2 tablespoons flour, for dusting
STEP BY STEP INSTRUCTIONS
- STEP 1). Combine the flour, yeast, and salt in a large mixing bowl, add the warm water, and stir with the handle of a wooden spoon until the dough is wet, sticky, and all the flour is mixed in.
- STEP 2). Cover the bowl with cling wrap or a plate, set it on the counter, and let the dough rise for 2 to 3 hours until it doubles in size, looks bubbly on top, and jiggles when you shake the bowl.
- STEP 3). About 30 minutes before baking, place a Dutch oven with its lid into the oven and preheat to 230°C/450°F (220°C fan); if the dough was refrigerated, let it rest on the counter during this time.
- STEP 4). Sprinkle flour on your work surface, scrape out the dough, dust the top with more flour, and fold the edges inward about 6 times to form a rough round shape.
- STEP 5). Place a large piece of parchment paper beside the dough, flip the dough onto the paper seam-side down, and gently shape it into a round without worrying about perfection.
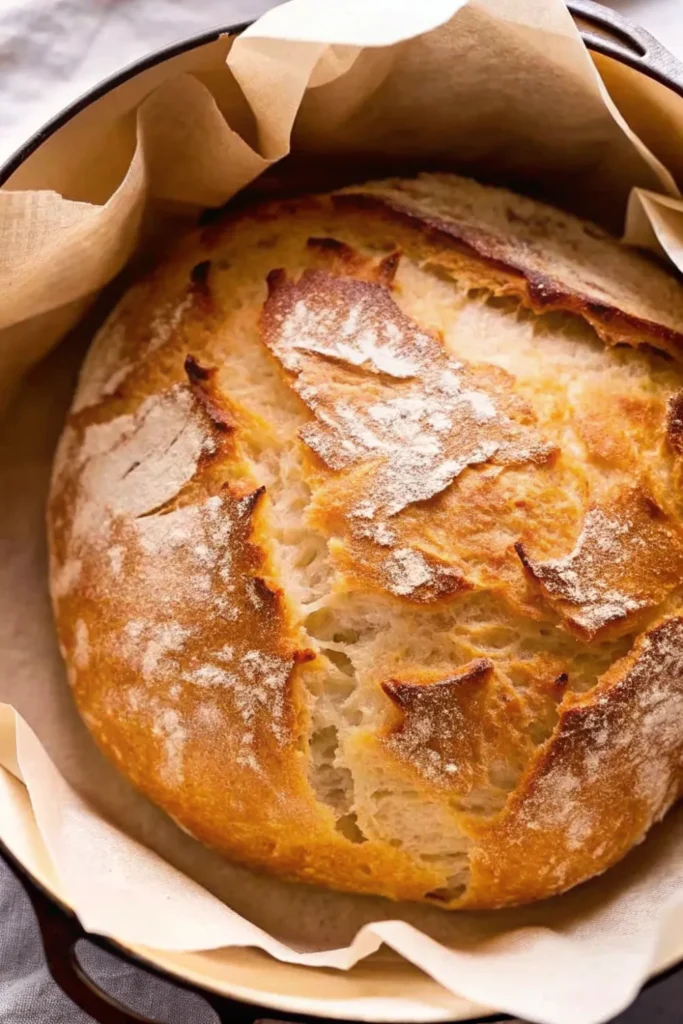
- STEP 6). Carefully take the hot Dutch oven out of the oven, use the parchment paper to lower the dough inside, cover with the lid, and bake for 30 minutes.
- STEP 7). Remove the lid and bake for another 12 minutes until the crust is deep golden and crisp.
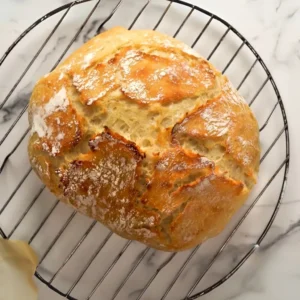
- STEP 8). Lift the bread out of the pot with the parchment paper, set it on a rack, and cool for at least 10 minutes before slicing.
EXPERT COOKING TIPS
- Warm water is key. If the water is too hot, it will kill the yeast, and if it’s too cold, the dough will take forever to rise. Aim for water that feels like a nice warm bath.
- Don’t overthink the shaping. This dough is sticky and floppy, and that’s exactly how it should be. Just fold it a few times and let the oven do the rest of the work.
- Use parchment paper for easy transfer. It saves you from the stress of trying to drop sticky dough into a blazing-hot Dutch oven.
- Give the bread a rest after baking. I know it’s tempting to slice right in, but waiting at least 10 minutes lets the steam settle so the inside isn’t gummy.
- Refrigerate for more flavor. If you’ve got the time, let the dough sit in the fridge overnight. It makes the bread taste deeper and more complex without any extra effort.
RECIPE FAQ
Can I use whole wheat flour instead of white?
You can, but it absorbs more water, so start with a little less flour and add as needed. The bread will be denser, but still tasty.
How do I store this bread?
Keep it in an airtight container or a zip-top bag on the counter for up to 2 days. After that, toast it for best results, or freeze it for longer storage.
What if my dough doesn’t rise?
It’s usually because the yeast is old or the room is too cold. Move the bowl somewhere warmer, like near a sunny window, or check that your yeast is still active.
SERVING IDEAS
This bread is so versatile that I honestly end up using it for just about everything. Fresh out of the oven, I’ll tear off a piece and dunk it into olive oil with a pinch of salt—simple but ridiculously good. It also makes the perfect sidekick for soups and stews, especially something hearty like a beef stew or a creamy tomato soup. If I’ve got leftovers, I’ll slice it thick and make grilled cheese sandwiches, and let me tell you, the crust makes them next-level. And if you’re more of a breakfast person, toast it up and slather with butter and jam.
MAKE AHEAD AND STORAGE
One of the best parts about this recipe is how flexible it is when it comes to timing. You can let the dough rise on the counter and bake it the same day, or tuck it into the fridge for up to 3 days to deepen the flavor. I like to do the fridge option if I want to bake in the morning without all the prep. Once baked, the bread stays good on the counter for about 2 days, but if you want it to last longer, freeze it. Just wrap the loaf (or even slices) in plastic wrap and tuck it into a freezer bag. It’ll keep for up to 3 months, and you can toast slices straight from frozen.
And that’s it, my friend. This simple loaf proves you don’t need fancy skills or complicated tools to pull off bakery-quality bread in your own kitchen. A little patience, a hot oven, and four humble ingredients are all it takes to create something that feels downright magical when you slice into it. If you’ve been hesitant to try bread baking, let this be the recipe that changes your mind. Trust me, once you taste that first crunchy, chewy bite, you’ll wonder why you didn’t start sooner.
No Knead Bread Recipe with a Crispy Artisan Crust
Ingredients
Dough
- 3 cups (450 g) bread flour or all-purpose flour
- 2 teaspoons instant or rapid rise yeast
- 2 teaspoons kosher salt (not table salt)
- 1 1/2 cups (375 ml) very warm water, about 55°C/130°F
For shaping
- 1 1/2 tablespoons flour, for dusting
Instructions
- Combine the flour, yeast, and salt in a large mixing bowl, add the warm water, and stir with the handle of a wooden spoon until the dough is wet, sticky, and all the flour is mixed in.
- Cover the bowl with cling wrap or a plate, set it on the counter, and let the dough rise for 2 to 3 hours until it doubles in size, looks bubbly on top, and jiggles when you shake the bowl.
- About 30 minutes before baking, place a Dutch oven with its lid into the oven and preheat to 230°C/450°F (220°C fan); if the dough was refrigerated, let it rest on the counter during this time.
- Sprinkle flour on your work surface, scrape out the dough, dust the top with more flour, and fold the edges inward about 6 times to form a rough round shape.
- Place a large piece of parchment paper beside the dough, flip the dough onto the paper seam-side down, and gently shape it into a round without worrying about perfection.
- Carefully take the hot Dutch oven out of the oven, use the parchment paper to lower the dough inside, cover with the lid, and bake for 30 minutes.
- Remove the lid and bake for another 12 minutes until the crust is deep golden and crisp.
- Lift the bread out of the pot with the parchment paper, set it on a rack, and cool for at least 10 minutes before slicing.


