Black Cocoa Halloween Cookies Recipe for Dark Chocolate Lover
This black cocoa Halloween cookies recipe is my little secret weapon when October rolls around and I want to impress without overcomplicating things. You know how some desserts just look like they took forever? Yeah, this is one of those, but truthfully, it’s way easier than it looks.
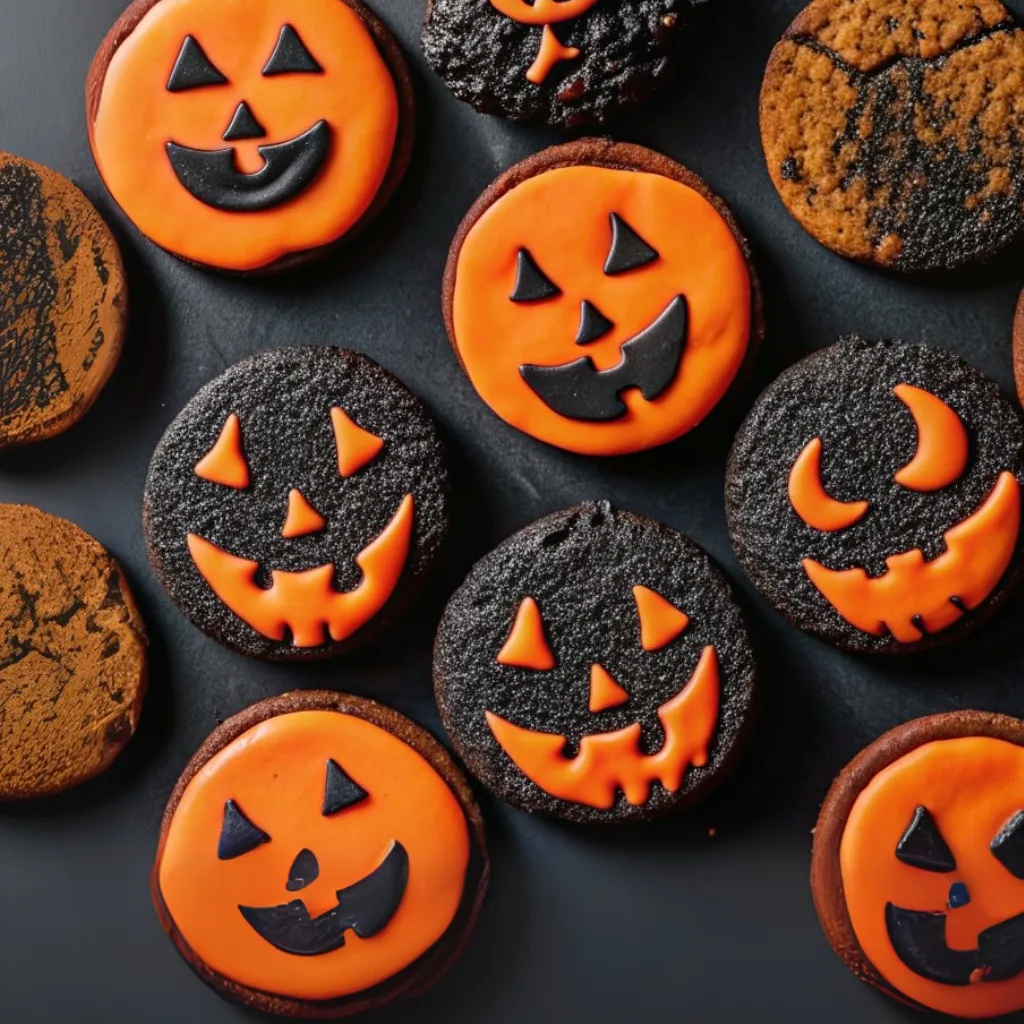
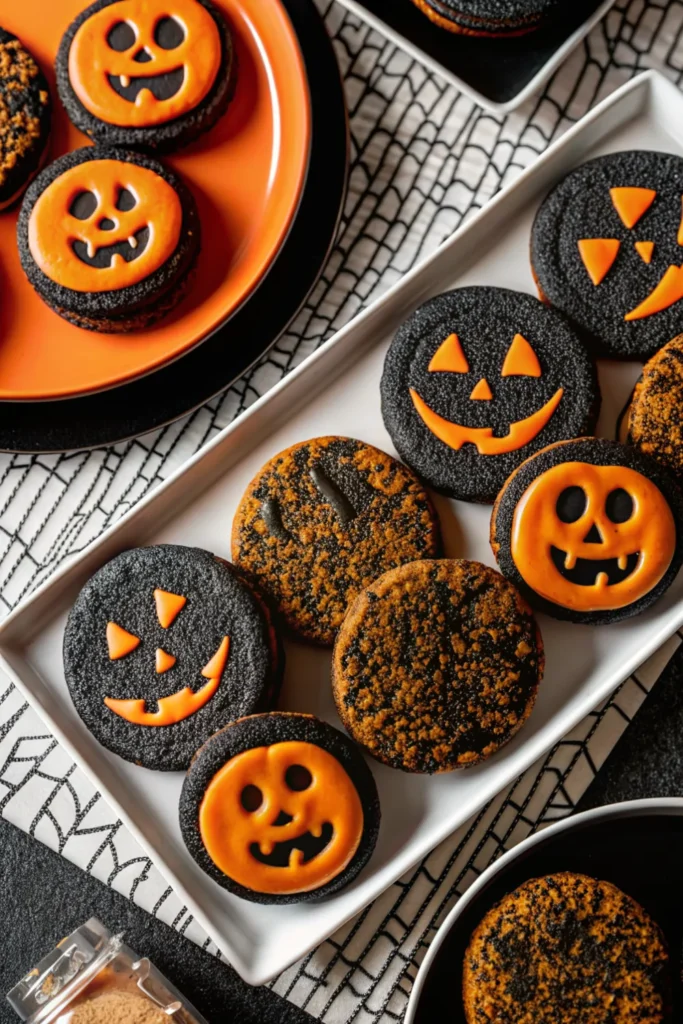
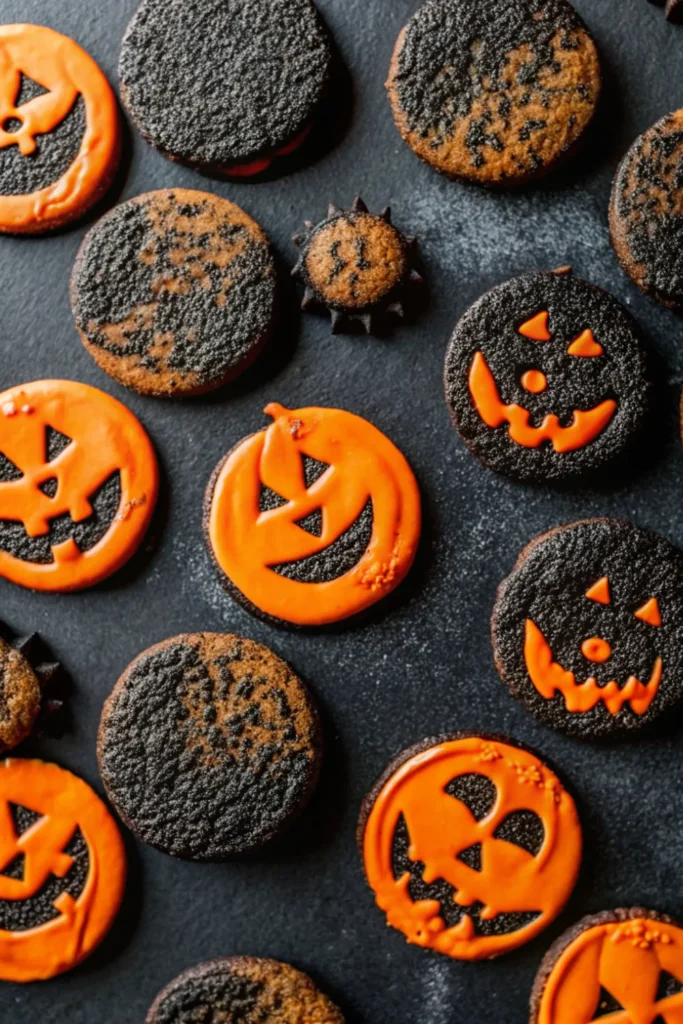
I still remember the first time I baked these. The kitchen smelled like a mix of hot chocolate and fresh coffee, and I couldn’t resist sneaking one straight off the tray. Spoiler: I burned my tongue a little, but totally worth it. The magic here is the black cocoa. It’s not your everyday cocoa—it gives the cookies this intense, dark chocolate flavor and the kind of deep color that screams Halloween without even trying. Add a pop of orange glaze, and suddenly you’ve got cookies that could walk straight out of a spooky bake-off.
For me, Halloween baking has always been about two things: making treats that look fun on the table and making sure they actually taste good when people bite into them. These cookies nail both. They’re crisp, rich, and just the right balance of spooky and delicious.
WHY YOU WILL LOVE THIS RECIPE
- Dark chocolate flavor that hits different – Black cocoa has this deep, almost Oreo-like richness that regular cocoa can’t match. It makes the cookies taste bold and just a little mysterious, which is perfect for Halloween.
- Crisp edges with a satisfying bite – I wanted these cookies to have that snap when you bite in, not a soft chewy middle. They bake up firm and crunchy, exactly the kind of cookie that holds up to glazing and decorating.
- That eye-catching spooky vibe – The contrast of jet-black cookies with bright orange glaze is so striking. These cookies don’t just taste amazing, they look like they belong at a Halloween party spread.
- Simple ingredients, big payoff – Even though the results look like something from a bakery window, the recipe uses pantry staples with just one specialty item (black cocoa). No fancy equipment or complicated steps.
- A recipe that’s easy to customize – You can keep the simple orange glaze, or go all out with piped jack-o’-lantern faces. Either way, the base cookie recipe is solid and gives you plenty of creative room.
INGREDIENTS
Cookies
- 10 tablespoons (142 g) unsalted butter, at room temperature or cold
- 1 cup (198 g) granulated sugar
- 1/2 teaspoon table salt
- 1/4 teaspoon instant coffee powder (or espresso-style powder)
- 1 large egg
- 2 teaspoons alcohol-free vanilla extract or vanilla bean paste
- 1 cup (120 g) all-purpose flour
- 2/3 cup (56 g) black cocoa, sifted if lumpy
- 3 tablespoons (21 g) cornstarch
- 3/4 teaspoon baking soda
Glaze
- 1 packet natural orange food coloring (plant-based or mineral-based)
- 1 teaspoon alcohol-free vanilla extract or vanilla bean paste
- 4 to 5 teaspoons water, divided
- 1 cup (113 g) confectioners’ sugar, sifted if lumpy
STEP BY STEP INSTRUCTIONS
- STEP 1) Preheat the oven to 325°F (165°C), place the racks in the upper and lower thirds, and line two baking sheets with parchment paper.
- STEP 2) Beat the butter, sugar, salt, and instant coffee powder together with a stand mixer or hand mixer until smooth but not fluffy, which takes about 1 to 3 minutes depending on the temperature of the butter.
- STEP 3) Scrape the sides of the bowl, add the egg and vanilla, and mix until everything is fully combined.
- STEP 4) Add the flour, black cocoa, cornstarch, and baking soda all at once, then mix until the dough comes together, scraping the bowl once and giving it one more quick mix.
- STEP 5) Scoop the dough into tablespoon-sized portions, about 24 g each, roll them into balls, and place them 1 1/2 inches apart on the prepared baking sheets.
- STEP 6) Bake the cookies for 28 to 32 minutes, rotating the pans from top to bottom halfway through, until the cookies are firm with crisp edges and centers.
- STEP 7) Remove the cookies from the oven, let them cool on the pans for 5 minutes, then transfer to a rack and cool completely for about 45 minutes.
- STEP 8) To make the glaze, stir the orange food coloring, vanilla, and 2 teaspoons water together in a small microwave-safe bowl, microwave briefly in 5-second intervals until dissolved, then pour this over the confectioners’ sugar.
- STEP 9) Add the remaining water, half a teaspoon at a time, stirring until the glaze reaches a thin, paint-like consistency that will coat the cookies.
- STEP 10) Brush a thin layer of glaze over each cooled cookie, let them rest undisturbed at room temperature for 10 to 15 minutes, and enjoy once the glaze is set.
EXPERT COOKING TIPS
- Don’t overbeat the butter. You’re not aiming for light and fluffy here, just smooth. Overmixing will add too much air, and the cookies won’t have that crisp snap we’re after.
- Watch the bake time. These cookies should be firm all the way through, not soft in the center. Pull them out too early and you’ll lose the texture that makes them so good.
- Cool completely before glazing. I know it’s tempting to dive in, but if the cookies are even a little warm the glaze will slide right off. Patience really pays here.
- Adjust the glaze consistency. Too thick and it won’t spread evenly, too thin and it will run everywhere. Add water slowly, a half teaspoon at a time, until it feels like thin paint.
- Try a test cookie. Baking just one or two first gives you a chance to check spread, bake time, and texture before committing the whole batch. It’s a little insurance policy I always recommend.
RECIPE FAQ
Do I have to use the orange glaze?
Not at all. The glaze adds that fun Halloween contrast, but the cookies are delicious plain too. You could also drizzle them with white or dark chocolate if you want a different finish.
How long do these cookies stay fresh?
They keep well for about 3 to 4 days in an airtight container at room temperature. If you want to plan ahead, bake and freeze the cookies without glaze, then thaw and decorate when you’re ready.
Can I make the dough ahead of time?
Absolutely. The dough can be made a day in advance, covered, and stored in the fridge. Just let it sit at room temperature for a bit before scooping and baking so it’s easier to handle.
CREATIVE DECORATING IDEAS
One of my favorite parts about these cookies is how flexible they are when it comes to decorating. The orange glaze is classic and simple, but you can definitely take things up a notch if you’re in the mood.
- Jack-o’-lantern faces. Pipe a thicker glaze outline first, let it set, then fill in with a thinner glaze. Add little black cocoa details for eyes and a mouth to give each cookie personality.
- Spiderweb design. Glaze the whole cookie orange, then pipe thin white circles on top. Drag a toothpick through the circles from center to edge and you’ll have spooky spiderwebs in no time.
- Candy toppings. Press candy eyeballs, sprinkles, or mini M&Ms into the glaze before it sets. This is a fun one to do with kids.
- Two-tone glaze. Split your glaze into two bowls and color one black, the other orange. Drizzle both over the cookies for a bold Halloween vibe.
These little tricks make it easy to dress up your cookies for a party, or just for fun baking at home.
HOW TO STORE AND FREEZE THESE COOKIES
I’ve tested these cookies a few different ways, and here’s what actually works best for keeping them fresh.
- Room temperature storage. Once the glaze has set, keep the cookies in an airtight container at room temperature. They’ll stay crisp and tasty for about 3 to 4 days. Layer them with parchment paper if you’re stacking.
- Freezing unglazed cookies. If you want to make them ahead, bake the cookies, let them cool completely, and freeze them plain. They’ll hold up in a freezer-safe bag or container for about a month. When you’re ready, thaw at room temperature and then glaze.
- Avoid freezing glazed cookies. The glaze tends to get spotty and lose its shine after thawing, so it’s better to freeze them unglazed. Trust me, I learned that one the hard way.
This way, you can have Halloween cookies ready without scrambling at the last minute.
And that’s it, my Black Cocoa Halloween Cookies in all their spooky glory. I love how something so simple can look this dramatic on a table, and the flavor really does back up the appearance. If you’re into dark chocolate desserts, these are going to be right up your alley.
Halloween baking doesn’t have to be complicated, and this recipe proves it. A little black cocoa, a splash of color, and you’ve got cookies that feel festive without hours of decorating. I hope you’ll give these a try, and if you do, let me know how they turned out—I’m always curious to hear how my readers put their own twist on things. Happy baking, and happy haunting!
Black Cocoa Halloween Cookies Recipe for Dark Chocolate Lover
Ingredients
Cookies
- 10 tablespoons (142 g) unsalted butter, at room temperature or cold
- 1 cup (198 g) granulated sugar
- 1/2 teaspoon table salt
- 1/4 teaspoon instant coffee powder (or espresso-style powder)
- 1 large egg
- 2 teaspoons alcohol-free vanilla extract or vanilla bean paste
- 1 cup (120 g) all-purpose flour
- 2/3 cup (56 g) black cocoa, sifted if lumpy
- 3 tablespoons (21 g) cornstarch
- 3/4 teaspoon baking soda
Glaze
- 1 packet natural orange food coloring (plant-based or mineral-based)
- 1 teaspoon alcohol-free vanilla extract or vanilla bean paste
- 4 to 5 teaspoons water, divided
- 1 cup (113 g) confectioners’ sugar, sifted if lumpy
Instructions
- Preheat the oven to 325°F (165°C), place the racks in the upper and lower thirds, and line two baking sheets with parchment paper.
- Beat the butter, sugar, salt, and instant coffee powder together with a stand mixer or hand mixer until smooth but not fluffy, which takes about 1 to 3 minutes depending on the temperature of the butter.
- Scrape the sides of the bowl, add the egg and vanilla, and mix until everything is fully combined.
- Add the flour, black cocoa, cornstarch, and baking soda all at once, then mix until the dough comes together, scraping the bowl once and giving it one more quick mix.
- Scoop the dough into tablespoon-sized portions, about 24 g each, roll them into balls, and place them 1 1/2 inches apart on the prepared baking sheets.
- Bake the cookies for 28 to 32 minutes, rotating the pans from top to bottom halfway through, until the cookies are firm with crisp edges and centers.
- Remove the cookies from the oven, let them cool on the pans for 5 minutes, then transfer to a rack and cool completely for about 45 minutes.
- To make the glaze, stir the orange food coloring, vanilla, and 2 teaspoons water together in a small microwave-safe bowl, microwave briefly in 5-second intervals until dissolved, then pour this over the confectioners’ sugar.
- Add the remaining water, half a teaspoon at a time, stirring until the glaze reaches a thin, paint-like consistency that will coat the cookies.
- Brush a thin layer of glaze over each cooled cookie, let them rest undisturbed at room temperature for 10 to 15 minutes, and enjoy once the glaze is set.


